When you need to take the footwork out of the equation.
May 3, 2022 by Steve Andrews in Instruction, Opinion
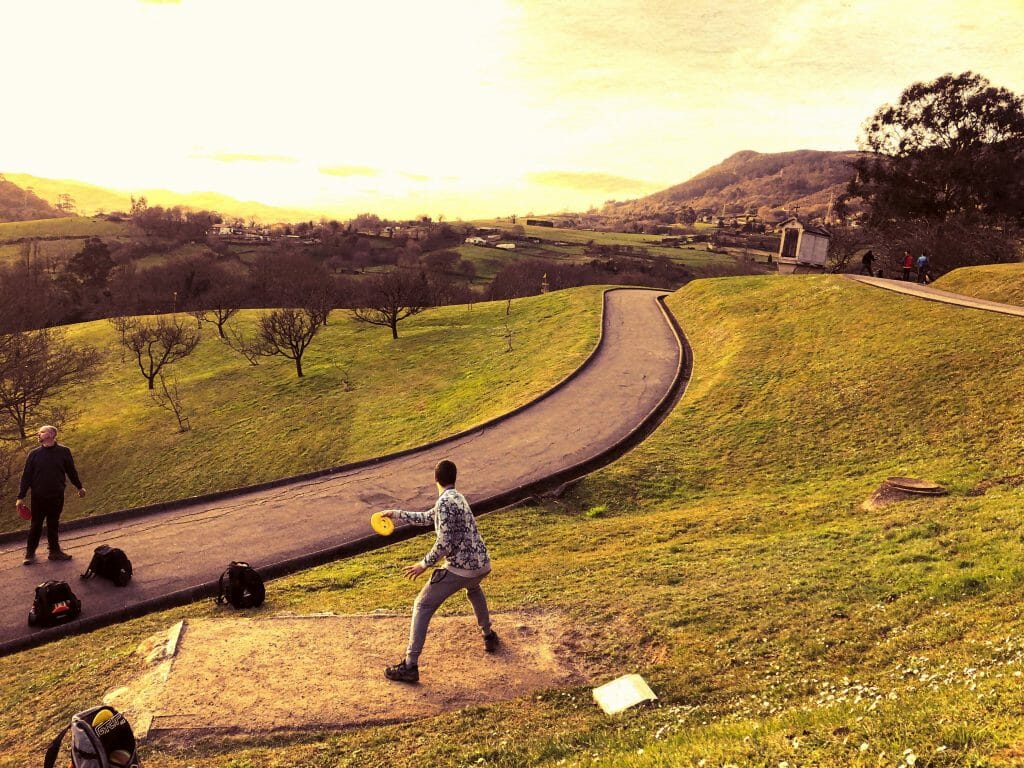
It should be easy. You are 190 feet out from the basket down a tree-lined tunnel. The basket is just sitting there. But your disc is on a slope, making any run up a little dicey. So, no problem, this calls for a standstill shot. But as you look through your bag to find the right disc, the trees seem to be inching closer to the fairway. It is just a straight shot without any footwork. So, why are you nervous?
Standstills should be the simplest shot in disc golf. You don’t need to time your footwork with your body turn and you are taking out more than half of the moving parts of your usual swing. But I have seen so many good players throw their ugliest shots from a fixed foot position. I have seen players choose to run uphill in the rain rather than stand and deliver a shot. The standstill is a shot that every player needs, but many players never practice. It was certainly one that I avoided when I could.
Being able to effectively throw shots without a runup is a crucial skill. There are lots of times – in rough conditions, when the footing is bad, or when the line is particularly tight – when you need to have confidence in your ability to hit your line without your regular mechanics. So how can we do it better?
***
Many of us skip over standstills when we are first starting the game. Although it is common to recommend that beginners should throw lots of standstills before adding an X-step, most of us rush to add footwork to our throw. It’s not surprising — it is more fun to throw far and the X-step is what we see the pros do on Jomez.
However, adding footwork also often introduces compensations and idiosyncrasies into our form. Humans are very clever tool-using animals, and our bodies can often get the disc moving where we want despite inefficiencies and bad positions. Many of us know players who get the discs into very strange positions on their backswing and still throw great. The problem is that a standstill does not give us the time or space to reroute the disc or rely on last second adjustments to get our shots on line. For example, the spin out move that some players have evolved to compensate for a slightly rounded backswing may not work without a lot of lower body movement, making timing the release of a standstill nearly impossible. Even players with great mechanics may have additional moves – like a forward press – that help their timing in their full swing but may make standstills more difficult.
Even if your regular form is clean, the differences in timing and tempo between an X-step and a standstill can be incredibly frustrating. And this frustration multiplies when you try to throw with power or need to hit a gap. As we have discussed before, it may be helpful to think of the standstill as its own shot rather than just a slight modification of your usual throw.
When I first started working on standstills, I tried two approaches that seemed intuitive: both led to disaster.
The first was taking my regular throw and just doing it slower, counting on a less aggressive body turn and slower tempo to take speed off the shot. That ended up with inconsistent releases and no speed control. I often threw it crooked, and when I managed to get it going in the right direction, I often threw it too short or 50 feet long. I then tried just shortening my swing, keeping my tempo consistent but hoping just shortening my throw would produce the results I needed. I found myself not trusting that I could get it to the basket from this shorter position. This led me to speed up my tempo and once again my releases were all over the place. You may find one of this approaches is an easy workaround for standstills. I couldn’t.
Starting on an Anhyzer
I also noticed that pros often throw their standstills very differently. In fact, many top pros throw all their shots with a very distinctive move in their setup and backswing. Players like Drew Gibson and Paige Pierce do not follow the often-repeated disc golf advice to “keep the disc on the line you want to throw.” Instead, even when throwing hyzers, they start with the disc in an anhyzer position and still have the disc on an anhyzer angle deep into the backswing. As they begin their swing, the disc is nearly vertical.
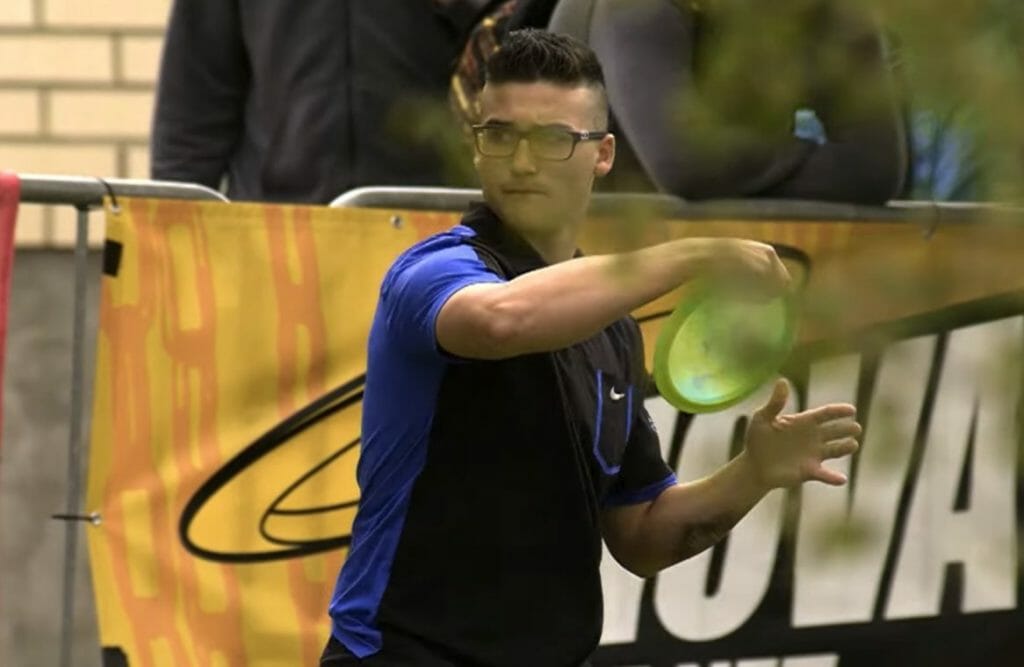
This is an older video, but the camera work and slo-mo is beautiful: it shows Drew Gibson throwing a drive at the 2015 European Open. Let’s take a look.
At the start of his backswing, Gibson has the disc in a high, almost roller angle:
It is shallowing but still there at the end of his backswing:
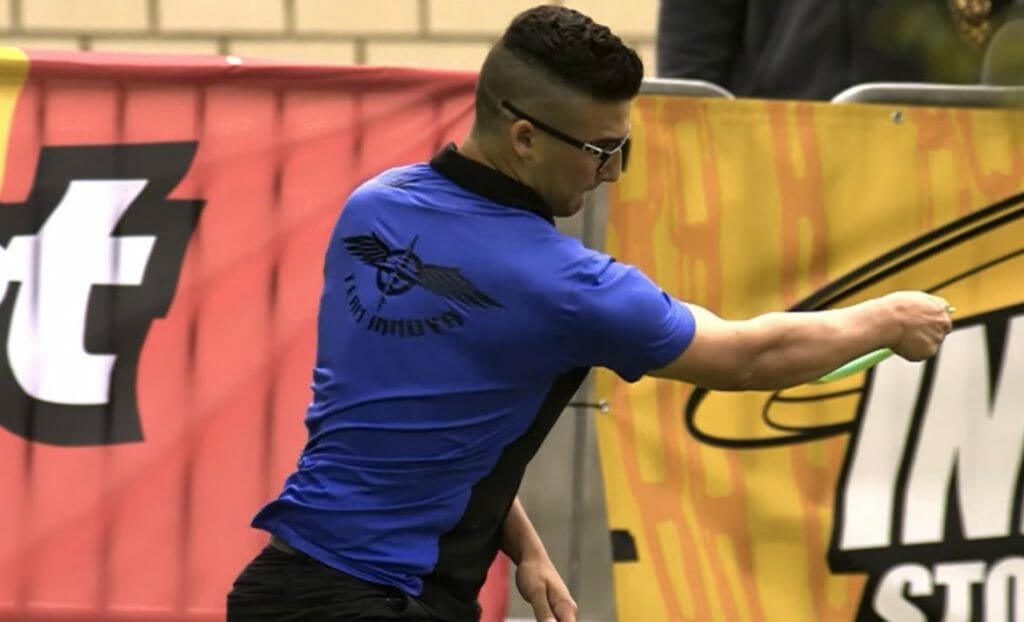
But then is completely rotated into a powerful hyzer release:
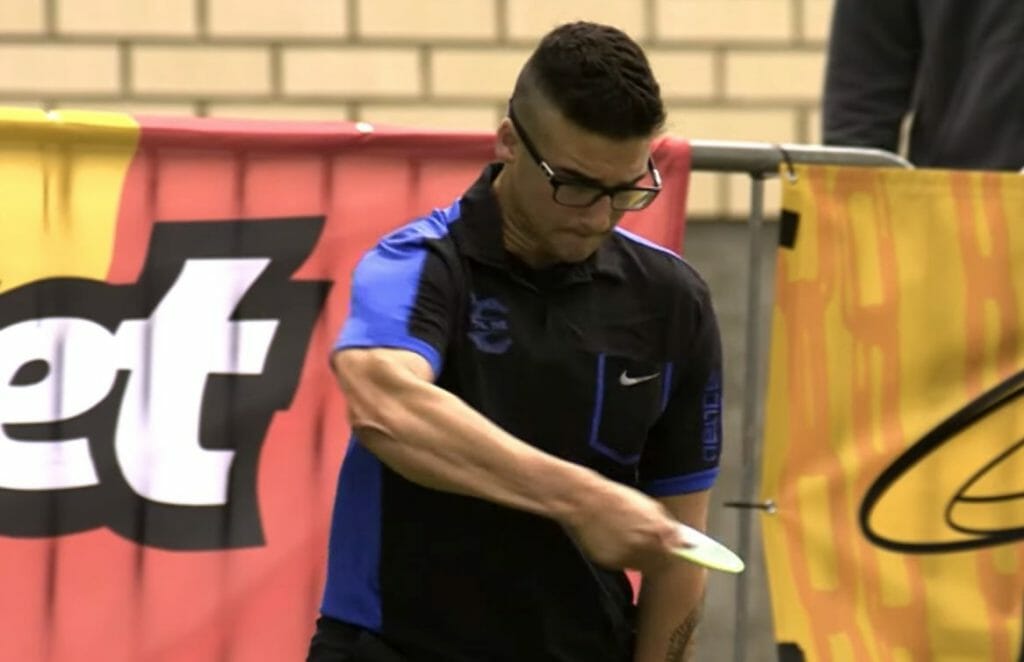
From this extreme angle late in their swing, players who make this move rotate the disc downward to get it onto a hyzer as they turn into the shot. It seems like a lot of extra motion to get the disc onto the release angle, but since this is done by some of the longest throwers in the game, it certainly seems to be working.
I tried to incorporate this move into my normal swing and found that it gave me much more power and great flights. A video at Overthrow Disc Golf argues that this is one way for players to get the nose down on their throws and I certainly found that adding this rotation added power to the shot. When it worked correctly, I threw the disc as good as I ever have.
Unfortunately, I also found that it hurt my accuracy. This extra rotation can be a source of power but demands great timing and tempo (and practice!) to get it to work consistently. In my usual swing, my arm and wrist are just passively responding to my body turn, but this move required me concentrate on timing my release with my x-step. Maybe it would have clicked and become intuitive if I stuck with it, but my game is built around accuracy and consistency. It didn’t seem worth it to lose accuracy even if it felt great to throw it fifty more feet.
But what I discovered is that this same move, rotating the disc from a more vertical to a nose down position, was a great way to throw standstills. That move gave me the power I needed, and it was easy to get the timing right when I didn’t have to sync it with my footwork and a full body turn. It solved both my tempo issue and my concern that I wouldn’t get enough power on the shot.
In case this description isn’t clear, I made a short video showing you what I mean:
Sometimes people recommend starting with standstills to work on the mechanics of your full throw. I think that is great advice – but this is not what this shot does for me. It certainly could work that way if you wanted to integrate this kind of rotation into your full swing, but I don’t. This approach to standstills is just adding a consistent way to get the disc close to my target.
It has been great to add this shot to the short game arsenal and become comfortable throwing tight lines in the woods or when the footing is bad. Being able to know you can stand and deliver a shot with confidence is a huge advantage when you find yourself in a tough spot.